Old-Fashioned Chocolate Fudge That Tastes Like Home
There are some recipes that feel less like instructions and more like memories written down. Old-fashioned chocolate fudge is one of those. It carries the quiet comfort of winter afternoons, the clink of a spoon against a saucepan, and the patience it takes to wait for something sweet to set properly. This is the kind of treat that didn’t come from a glossy cookbook or a viral video. It came from handwritten cards, flour-dusted counters, and someone reminding you not to stop stirring or you’d regret it.
Chocolate fudge like this was never rushed. It was made when there was time to stand by the stove, when dessert wasn’t about perfection but about sharing. Maybe it showed up on holidays, wrapped in wax paper and tucked into tins. Maybe it was a surprise on an ordinary day, cut into uneven squares and handed out like a small reward for being home. However it arrived, it always felt special.
What makes old-fashioned fudge different is its honesty. No shortcuts, no fancy equipment, no long list of hard-to-find ingredients. Just sugar, cocoa, butter, milk, and patience. The process asks you to slow down, to pay attention, and to trust that something simple can turn into something rich and satisfying.
This recipe stays true to that tradition. It delivers a deep chocolate flavor, a smooth but slightly firm texture, and that unmistakable homemade taste that store-bought fudge never quite gets right. Whether you’re making it for the first time or returning to a familiar favorite, this fudge has a way of making the kitchen feel warmer and time move a little slower.
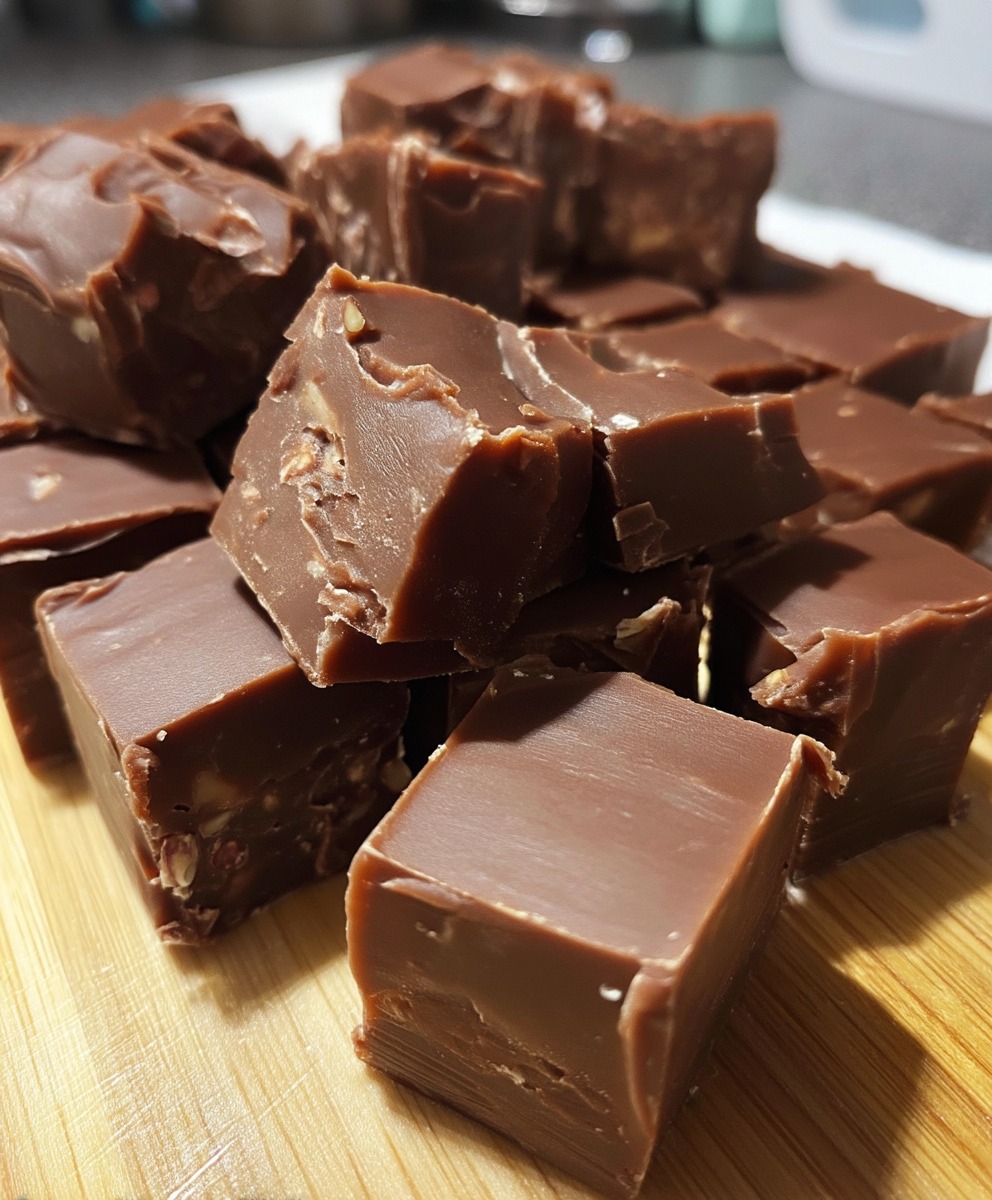
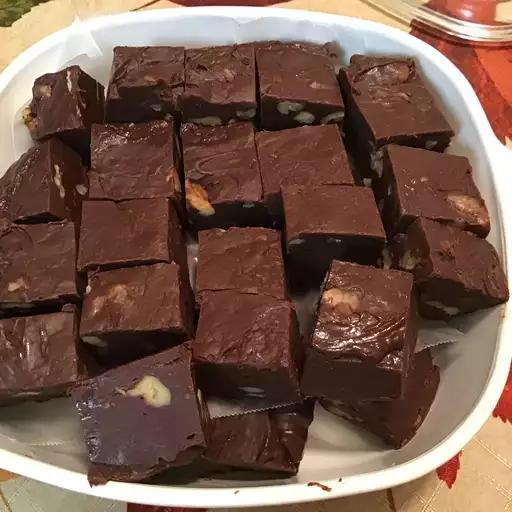
Old-Fashioned Chocolate Fudge
Ingredients:
2 cups granulated sugar
4 tablespoons Hershey’s cocoa powder
1 stick (½ cup) salted butter
1 (5-ounce) can evaporated milk (such as Carnation)
1 teaspoon vanilla extract
Chopped nuts (optional)
Instructions:
In a medium saucepan, whisk together the sugar and cocoa powder until fully blended.
Add the butter and evaporated milk to the pan. Place over medium heat and stir gently until the butter melts and the mixture begins to boil.
Once boiling, stir constantly for 7 minutes to prevent sticking and burning.
Remove the pan from the heat. Stir in the vanilla extract and continue stirring for another 3 minutes until the fudge thickens slightly.
Pour the fudge into a buttered baking dish, spreading it evenly.
Allow it to cool and set completely before cutting into squares.
Optional: Stir in a handful of chopped nuts just after adding the vanilla for a classic nutty version!
Cooking Tips and Simple Substitutions
Old-fashioned fudge is simple, but it does ask for attention. The most important tip is to keep stirring once the mixture begins to boil. This helps prevent scorching and ensures a smooth texture. A heavy-bottomed saucepan works best because it distributes heat more evenly and reduces the risk of burning.
If you prefer a deeper chocolate flavor, make sure your cocoa powder is fresh and well mixed with the sugar before adding the liquids. Any lumps left behind at the beginning can affect the final texture.
Salted butter is part of the charm here, adding balance to the sweetness. If you only have unsalted butter, you can use it, but the flavor may be slightly less complex. Just be aware that this recipe was designed with salted butter in mind.
For the optional nuts, classic choices like chopped walnuts or pecans work beautifully. Toasting them lightly before adding can enhance their flavor, but it’s not required. If you’re making this for someone who prefers smooth fudge, simply leave them out.
Serving Ideas and When to Enjoy It
This chocolate fudge is perfect for sharing. Serve it cut into small squares on a dessert tray, or package it in parchment paper for gifting. It pairs well with a cup of coffee, tea, or even a cold glass of milk.
It’s especially fitting for holidays, family gatherings, or cozy weekends at home. Because it’s rich, a little goes a long way. One square is often enough to satisfy a chocolate craving, which makes it ideal for stretching over several days.
You can also use this fudge as part of a dessert spread alongside cookies or bars. Its smooth texture contrasts nicely with crisp or chewy treats.
Storage and Freezing Tips
Once fully set, store the fudge in an airtight container at room temperature for up to one week. Keep layers separated with parchment paper to prevent sticking.
If you prefer to store it longer, fudge freezes well. Wrap individual pieces or the entire slab tightly in plastic wrap, then place in a freezer-safe container. It can be frozen for up to two months. Thaw at room temperature before serving, and the texture should remain intact.
Avoid storing fudge in the refrigerator unless your kitchen is very warm, as refrigeration can sometimes make it too firm.
Frequently Asked Questions
Why does my fudge turn grainy?
Grainy fudge usually happens if the sugar crystals don’t dissolve properly or if the mixture is overcooked. Stirring constantly and timing the boil carefully helps prevent this.
Can I double this recipe?
Yes, but use a larger saucepan and be extra careful with stirring. The mixture will take slightly longer to heat evenly.
Do I need a candy thermometer?
No. This recipe relies on timing and texture rather than temperature, which is part of its old-fashioned charm.
Can I make this without nuts?
Absolutely. The nuts are optional and leaving them out gives you a smooth, classic chocolate fudge.